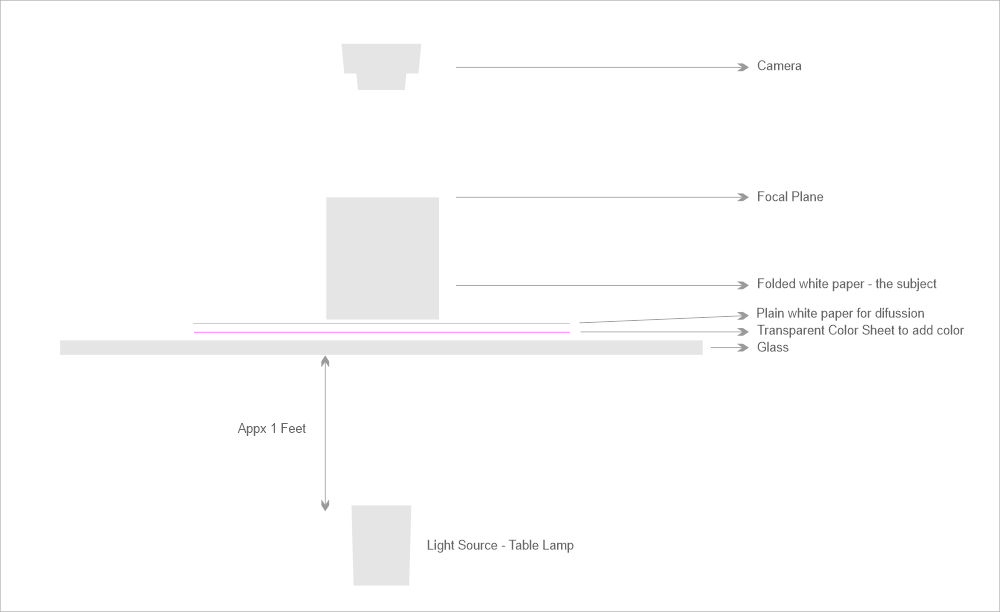
As you can see in the above schematic diagram the light is placed at the bottom on the floor, the glass surface about a foot from there.
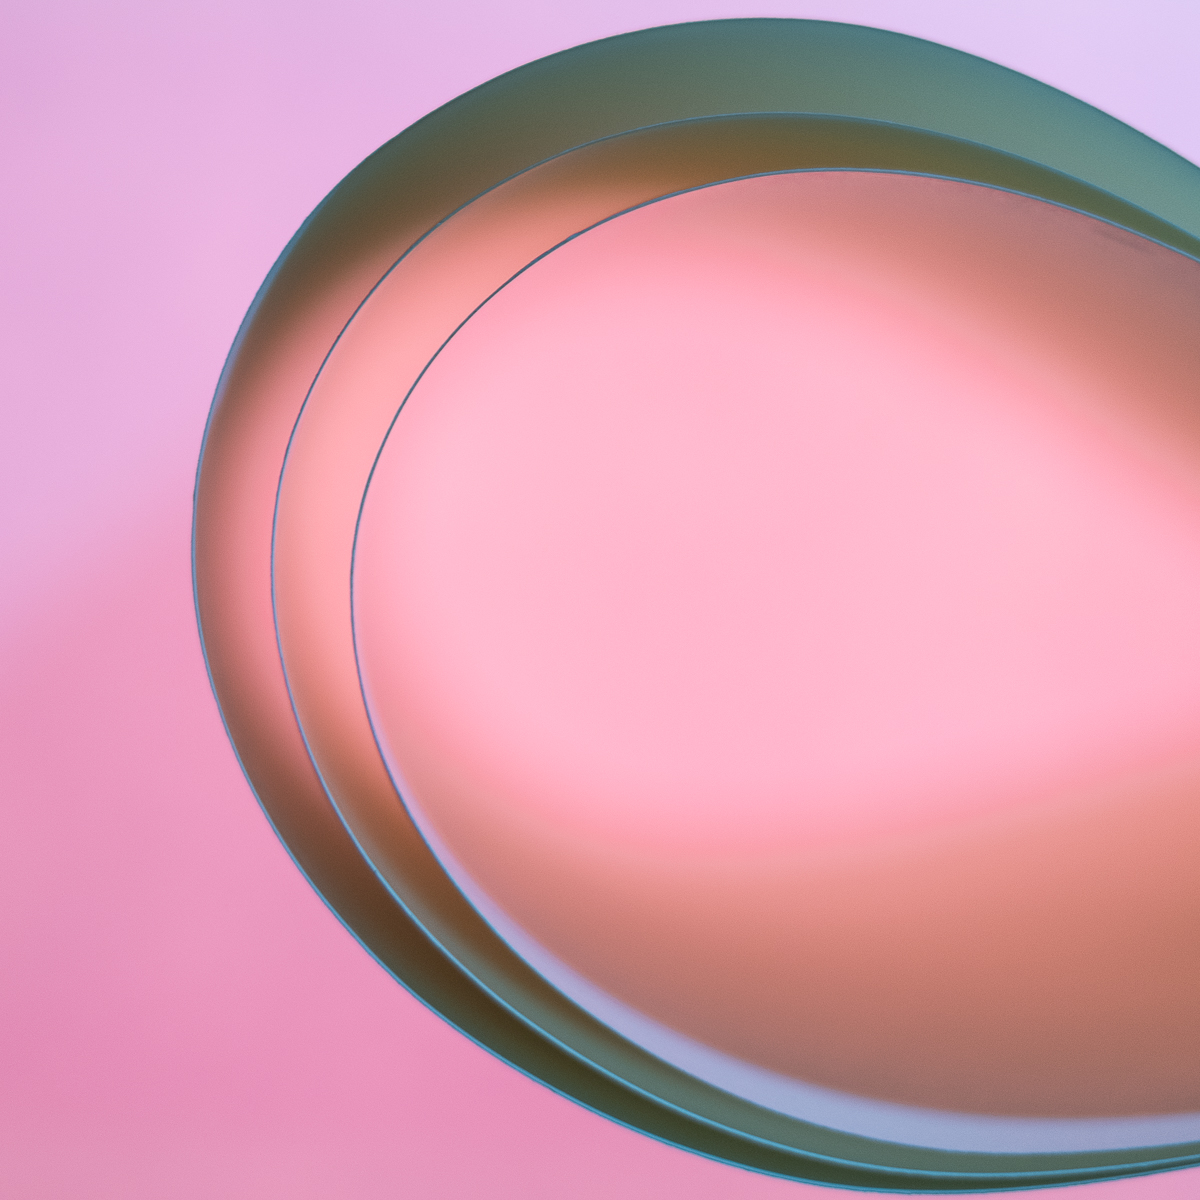
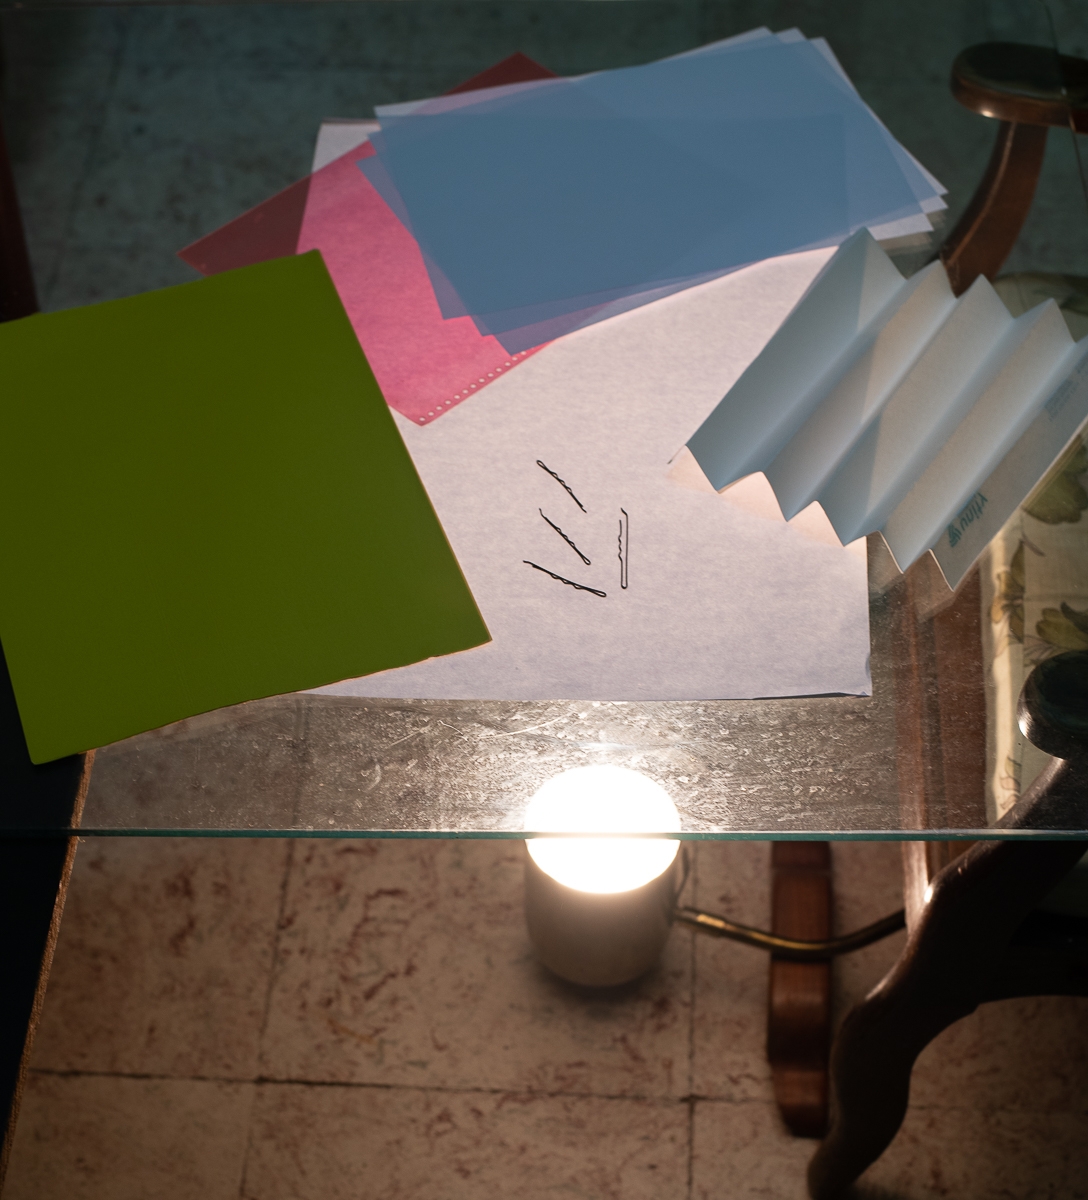
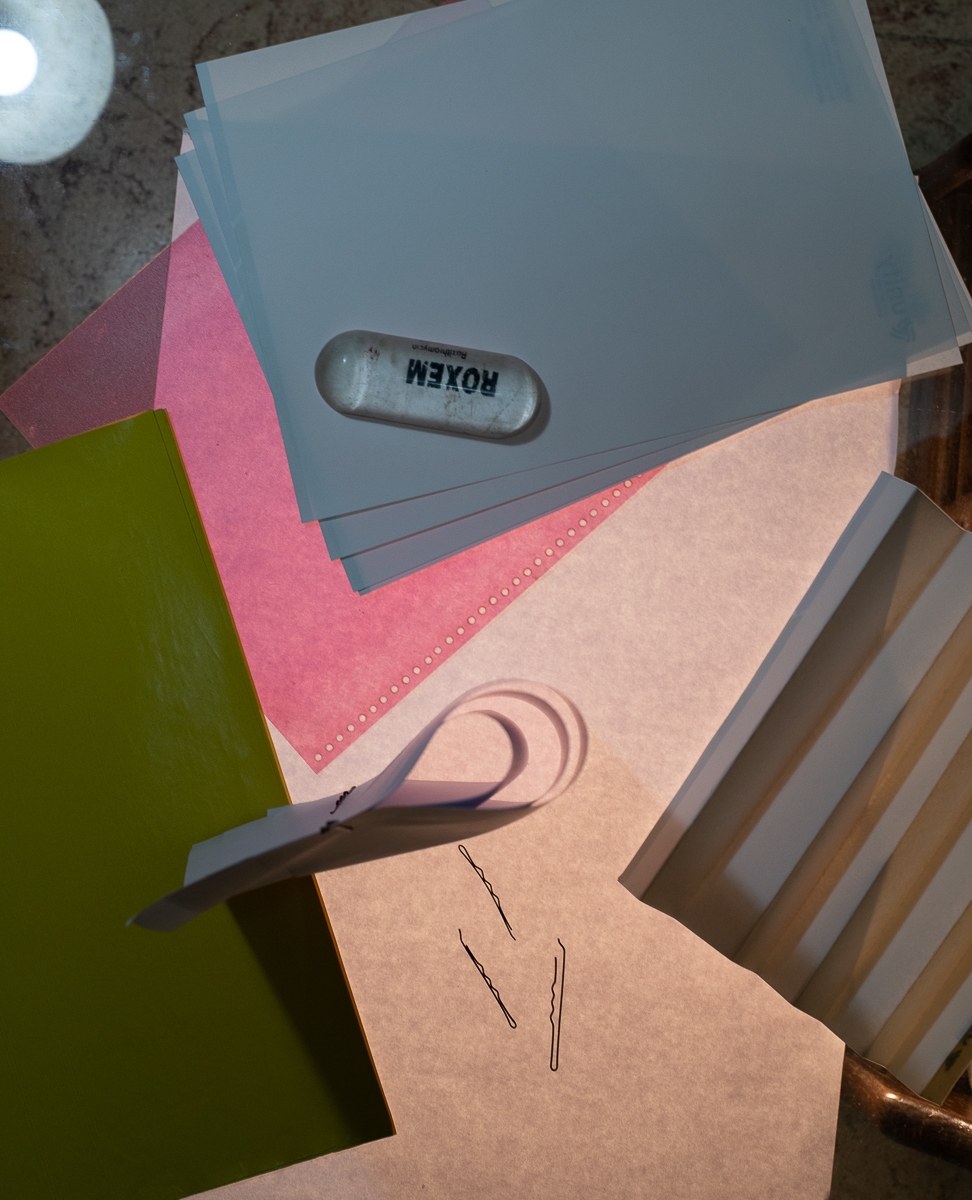
The colored gel sheet on top of the glass (I used a sheet that comes on a spiral-bound book, transparent colored sheet available in stationery stores can be used as well).
Place a plain white paper on the gel sheet to diffuse the light evenly, else you will see a hot spot.
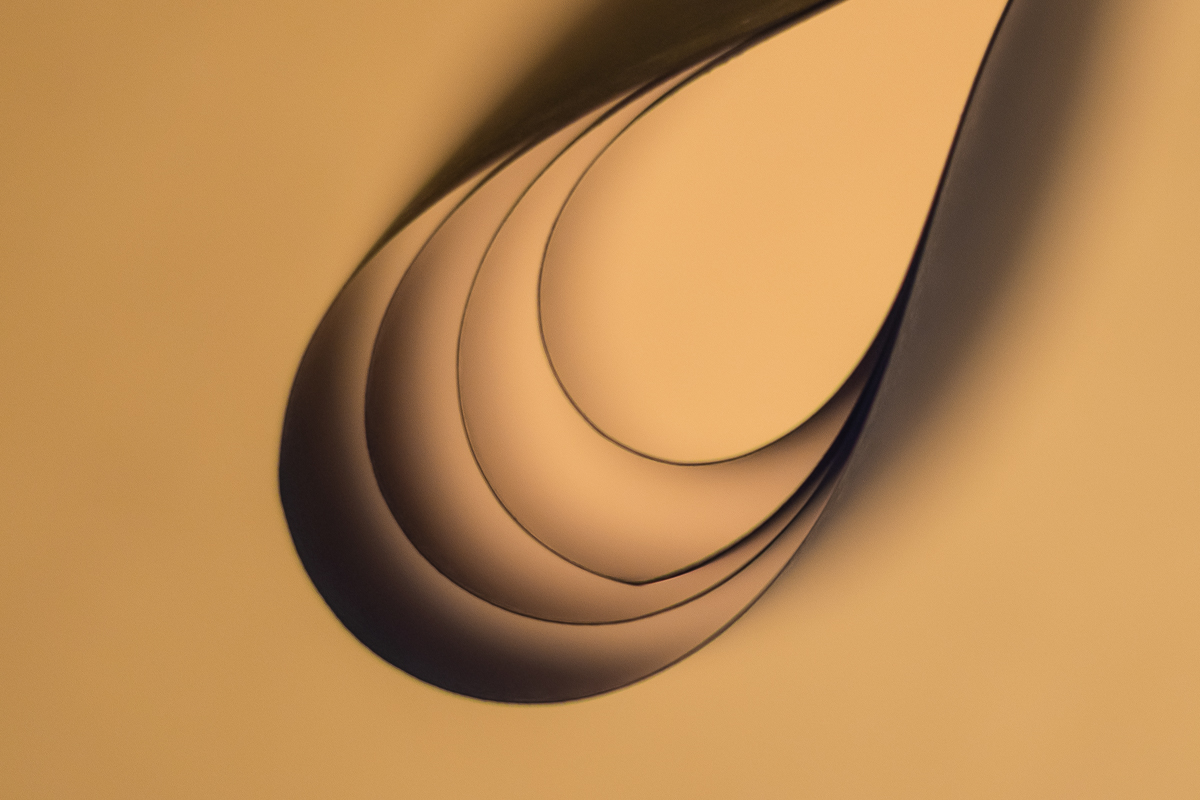
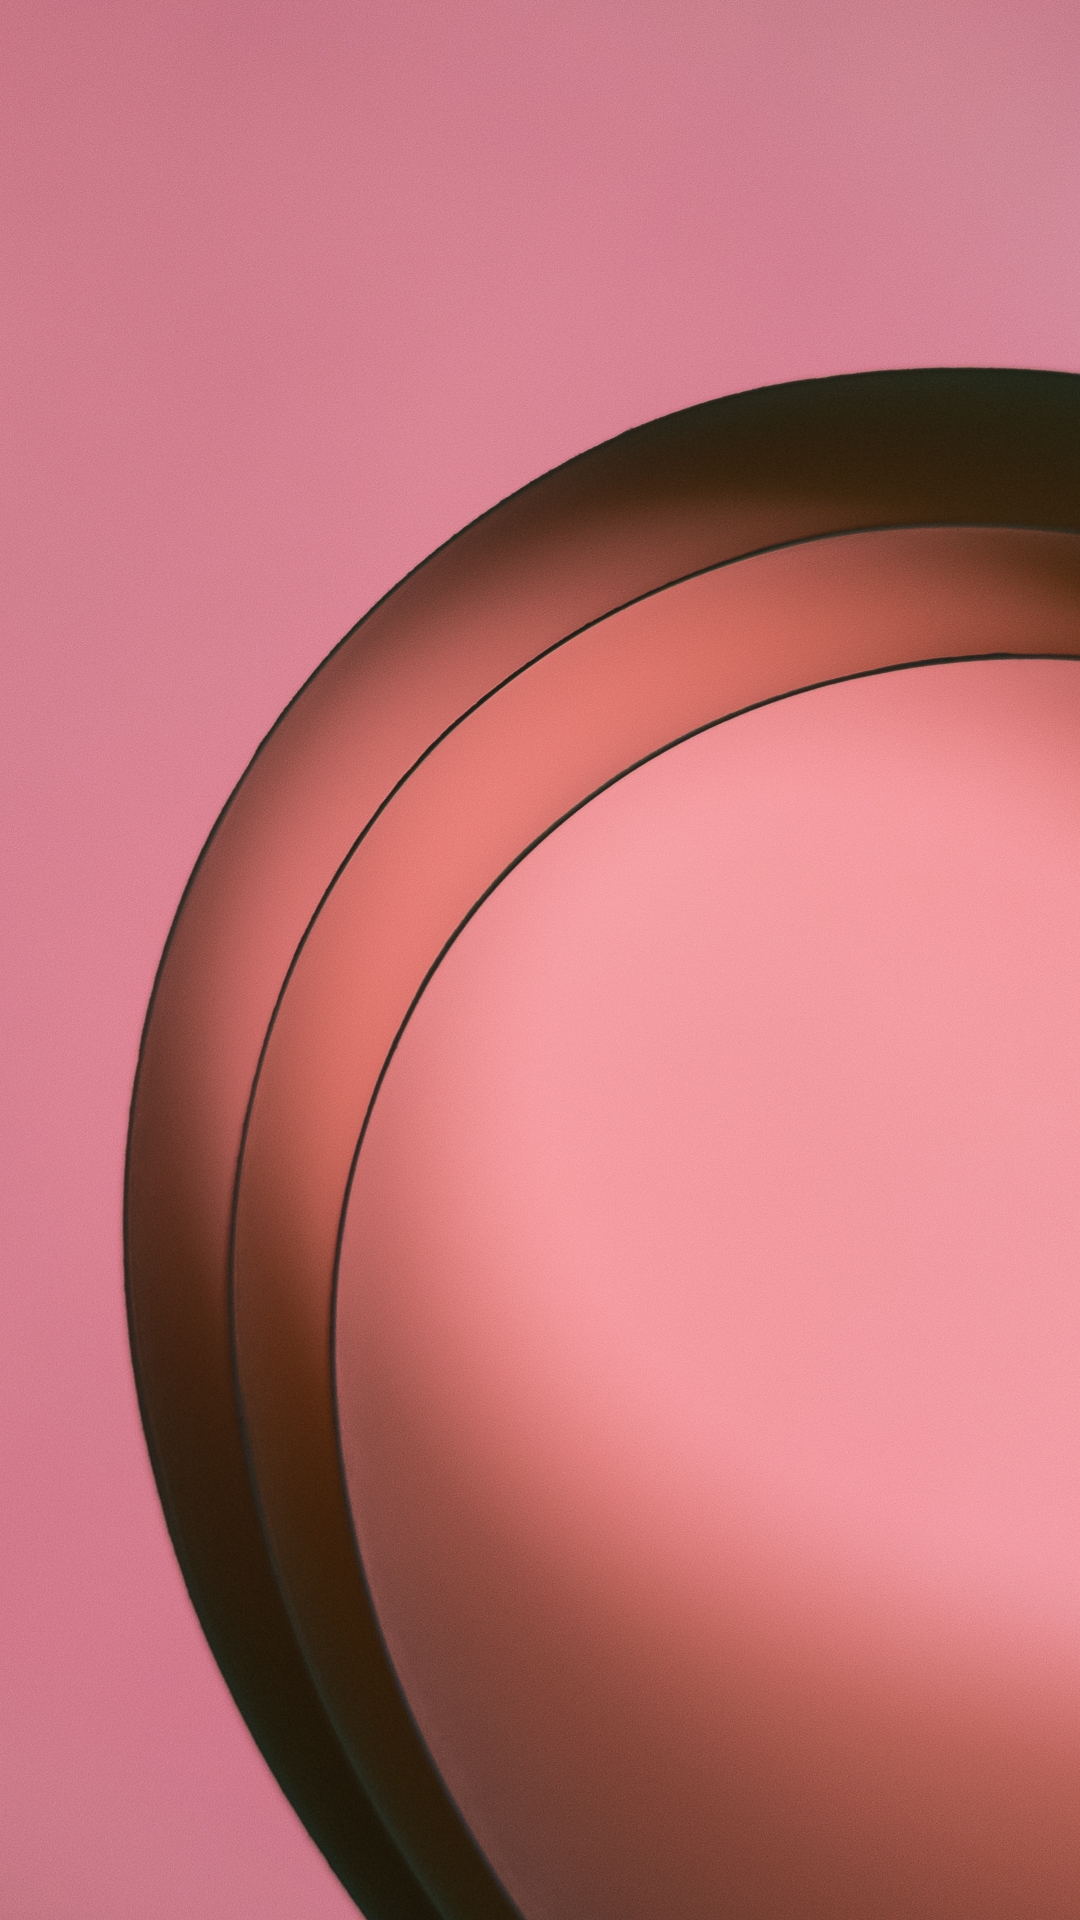
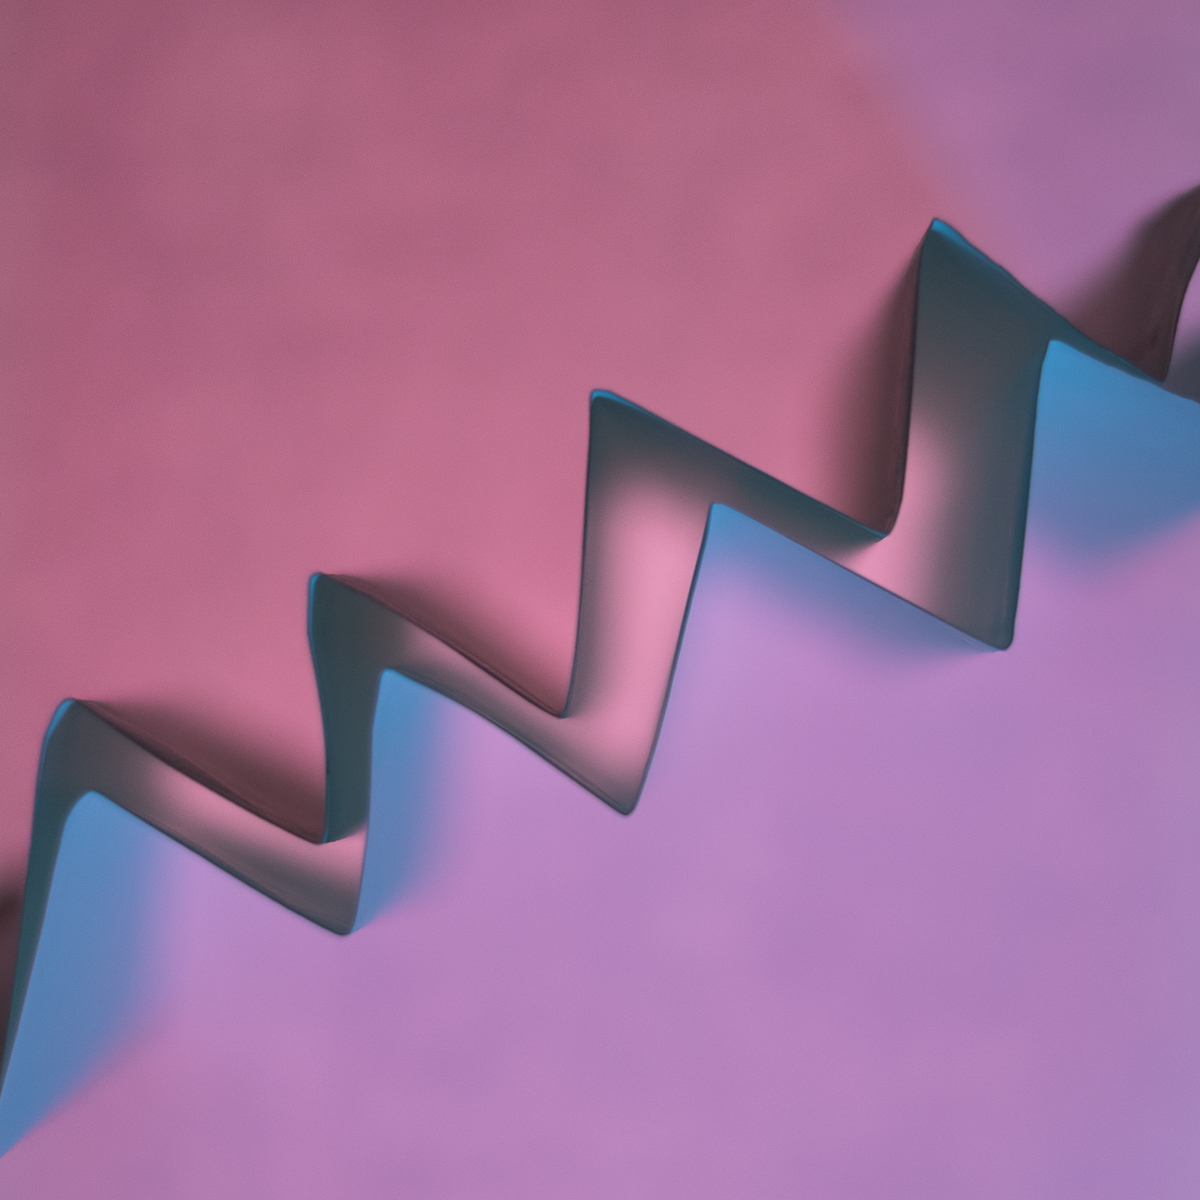
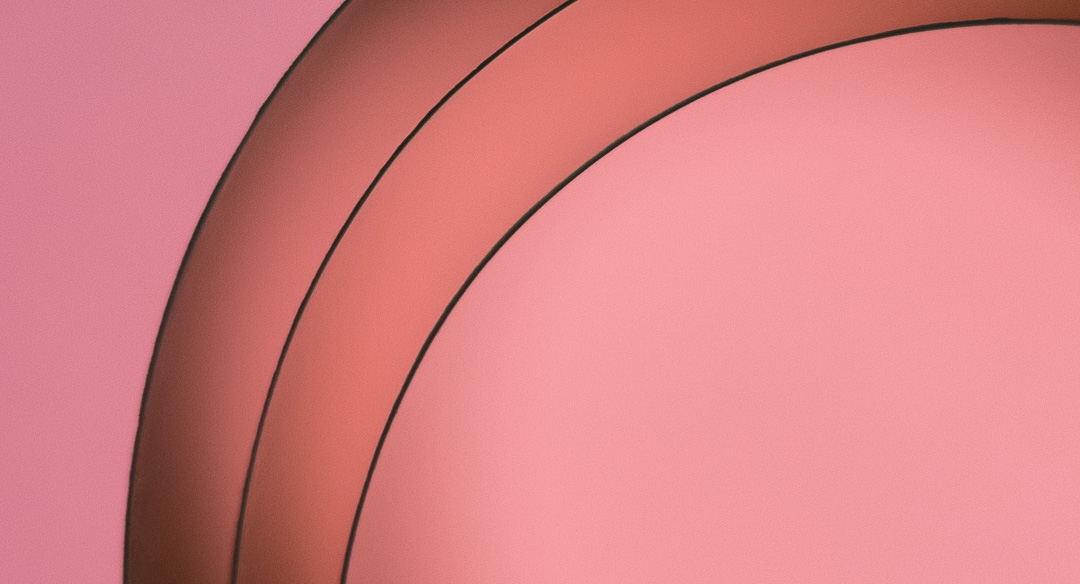
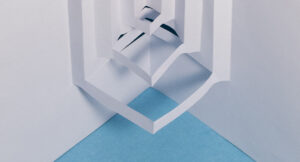
Fold the A3 / A4 white sheets in loops or any design that you can come up with, clip them so they don’t move. Place it vertically standing on the white sheet. You should now be able to see the patterns from the top angle.
Focus your camera to the top edge of the paper (using a tripod would help as the camera would remain at the same position for most shots) compose your frame and shoot.
I set my camera at f/1.8 looking for a shallow DOF, shutter speed at 1/40 – 1/100s and ISO 100 – 600.
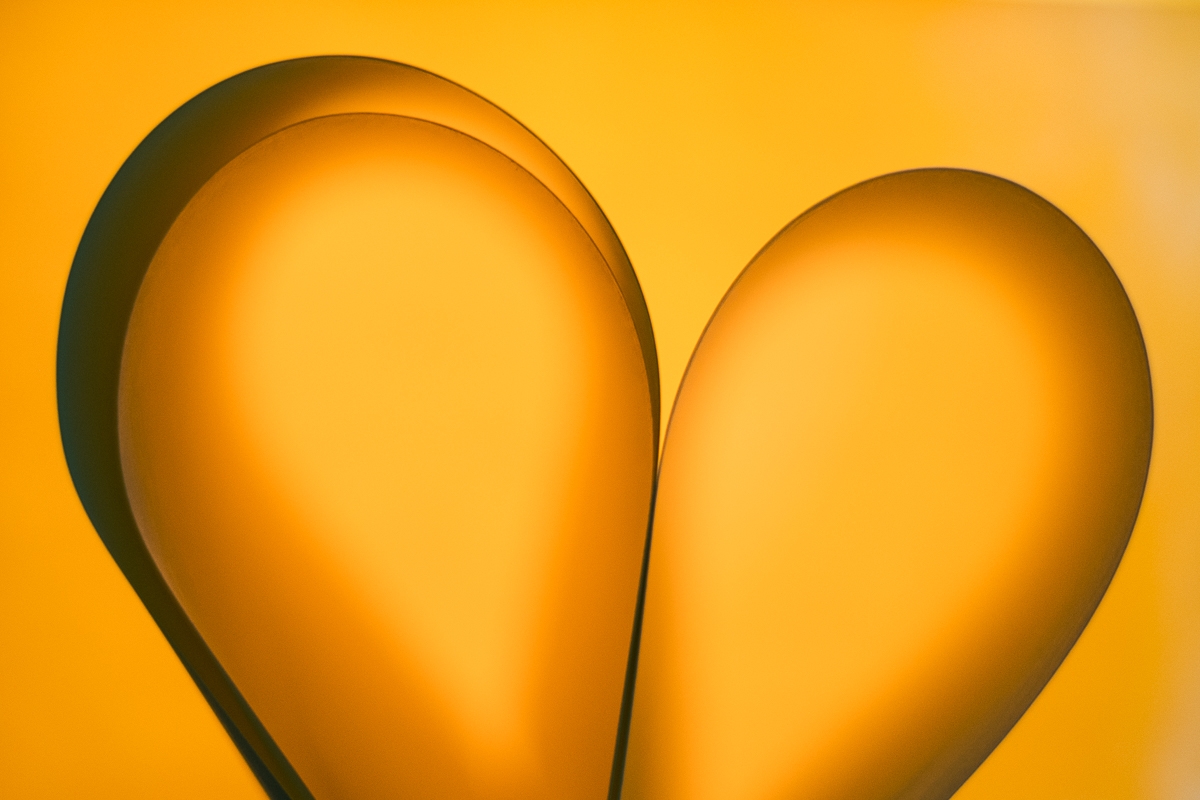
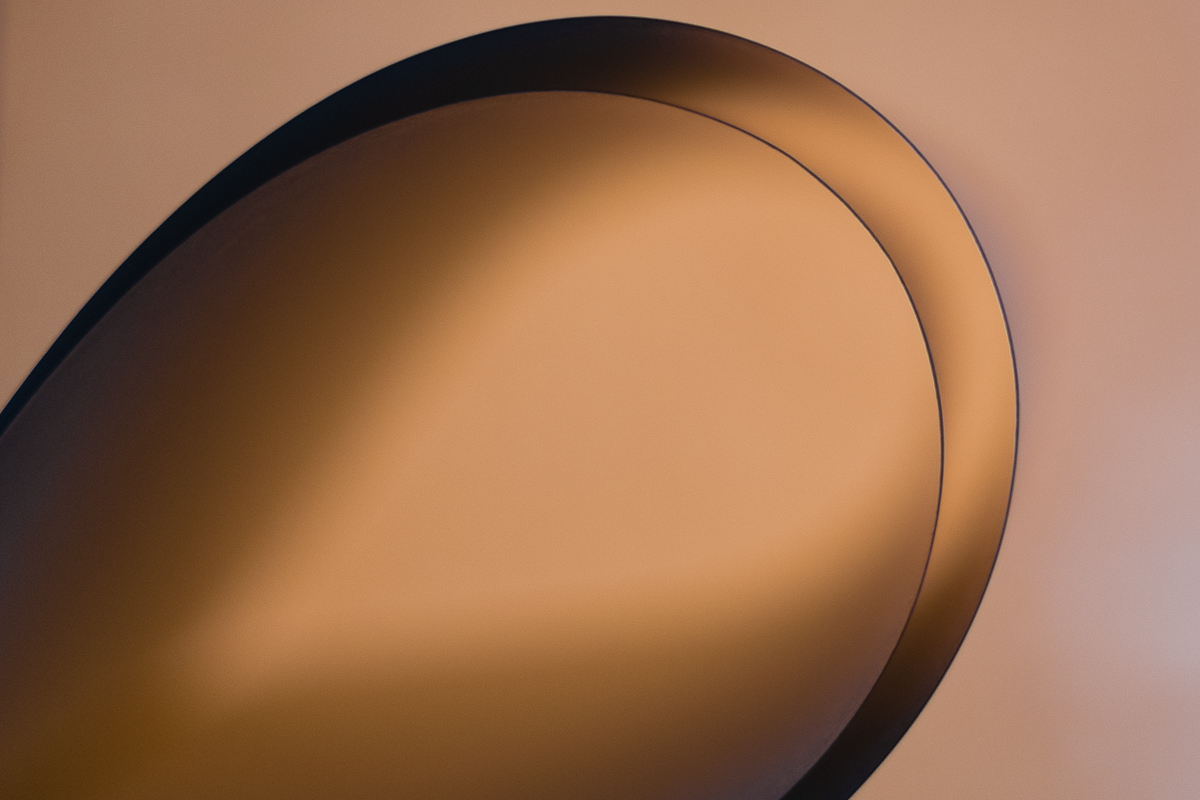
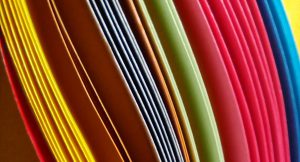
Change the patterns, the color gel and get a variety of shots.
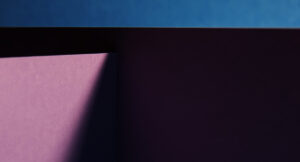
Below images show the setup and materials used.
Do share your images in the comments if you try this out, would love to see them 🙂

Lovely pictures, thanks for sharing the instructions. Will definitely try.
Thank you. Do share the results. All the best!!! 🙂